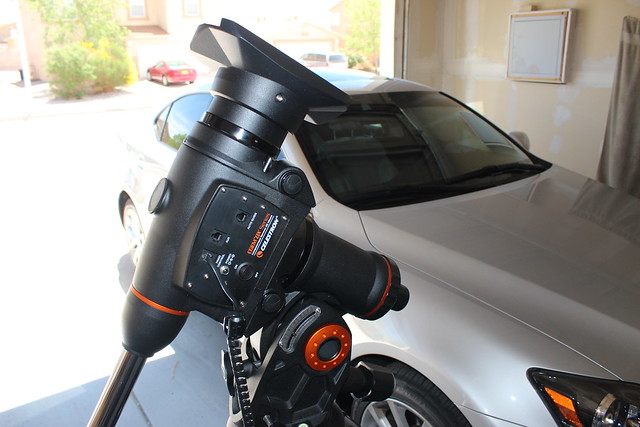
After my first light with the new gear I was bothered by some issues with the CGEM DX that I did not anticipate in a $2000 mount. There was significant play in the Declination axis. When the mount crossed the meridian the optical tube assembly would shift enough that the target object would be out of the field of view. There was also some binding that I couldn't fully resolve with the adjustment screws. The Right Ascension axis had slight stiction as well. While autoguiding, the mount had significant, yet random deviation in Declination. Oddly the autoguiding was relatively smooth in Right Ascension after the initial few corrections (settling). I spent hours tinkering with mount settings, balancing, and autoguiding parameters to determine the issues were indeed internal and would have to be resolved somehow.
After much discussion with some experienced peers, and a conversation with Ed from www.deepspaceproducts.com/ I decided against sending the mount to Celestron support and would rebuild it myself. What pushed me this route was the fact that this mount had already once been sent to Celestron for troubleshooting. It can take a significant amount of turnaround time (upwards of months based on feedback from several people who have gone the support route.) At the end, it's possible that an entirely different mount could be shipped to me, with entirely different issues, possibly the notorious "cogging" issue. My poking around and prior Celestron mount rebuild experience led me to believe my main issue was play in the Declination worm gear assembly - so I thought... Watch the following time lapse, and in the second segment of the video I have still shots that show a number of key issues I encountered.
CLICK HERE for Time Lapse Video of CGEM DX Hypertune and Rebuild
Also view the following gallery for high res pictures I took during the tear down process. (The time lapse is more to show the level of involvement in a full rebuild. It took me over 5 hours, including two trips to the hardware store. You'll probably get more meaningful content from the second segment of the video, and the photo gallery.)
CLICK HERE for Flickr Gallery of close up component pictures
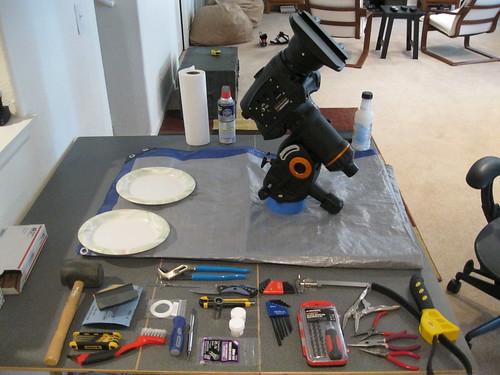
So I bought a Hypertune package from Ed. And had to run to Ace Hardware for a few extra tools I didn't have on me. Here's a list of what I used:
- Allen Keys/Wrenches - Metric
- Analog Caliper
- Strap wrench
- Channel Locks
- Needle Nose Pliers
- Variable screwdriver set
- Exacto Knife
- Dulled Knife
- Thread Lock
- Super Lube
- Metal Polish
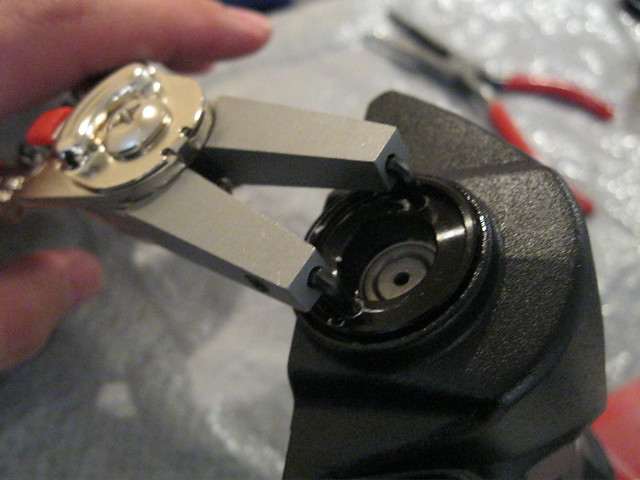
- Custom worm retainer ring removal tool
- Hard bristle brush
- Rubber Mallet
- WD-40
- Sand Paper, 300, 400, 800, 1000 grit
- Paper Towels
- Pen and Paper
- Painters tape roll (set the mount assembly on it, worked great)
- Teflon spacer rings
- Isopropyl Alcohol
- Caffeine (in regular intervals)
Disassembly is only recommended for those who are technically inclined.
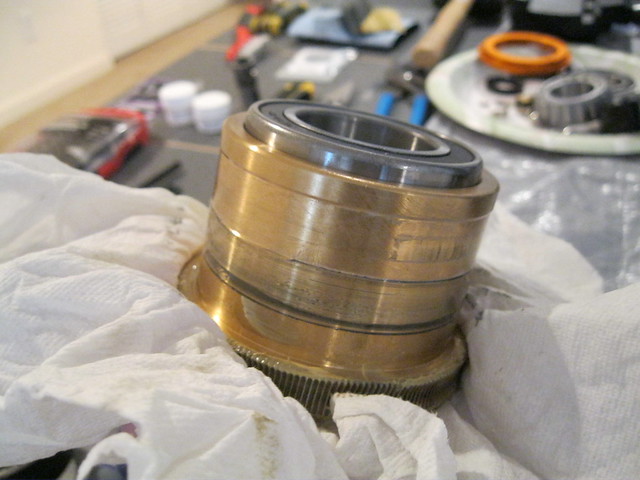
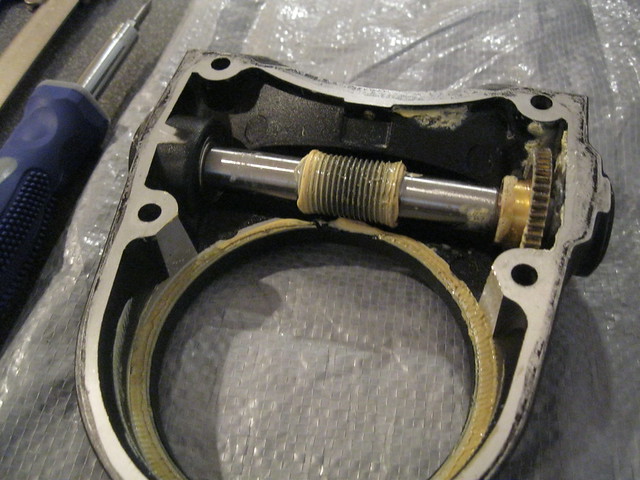
So I removed the Saddle first, and saw scoring on the top retainer ring for the Declination assembly - my first clue this thing was carelessly serviced. Then I took out the "external items" such as clutch and assembly, polar scope covers, the polar scope, etc. I removed the bottom Dec retainer ring assembly and found one cross-threaded hex screw in there. I hit it with WD-40, but it was fairly ruined. I removed the other screws and hit it with a strap wrench, then removed the hex screw after. After that the taper bearing pack has to come out, then slide out the entire axis. It was in there solid. I could feel some friction points as I lifted it out. Removing the bearings, spacers, and ring gear assembly was straight forward, except the bottom spacer - it was a PITA. There was obvious scoring and pitting on the ring gear.
Getting down to it - the biggest problems I found in the mount -
- Burrs and rough spots in the housing, contacting moving parts
- Terrible factory lubricant, and too much of it on everything
- Worm gear retainers were too tight to allow proper spin
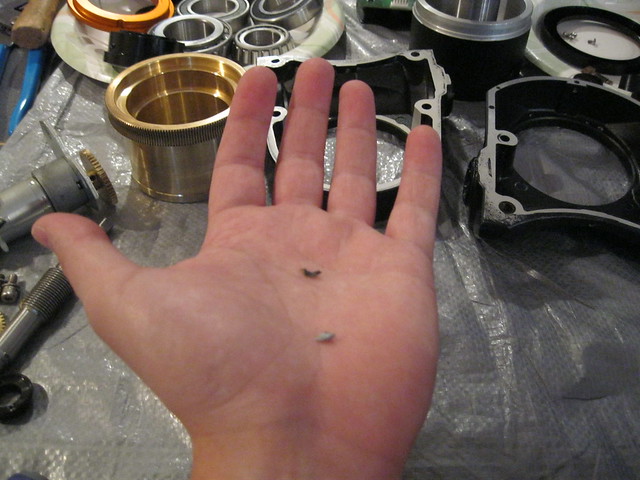
- Retainer ring screws were cross-threaded and scraped from tools
- Worm retainer rings were GLUED into threads
- Scoring found on the Declination ring gear
- Backlash screws in DEC were cross-threaded and had to be reworked.
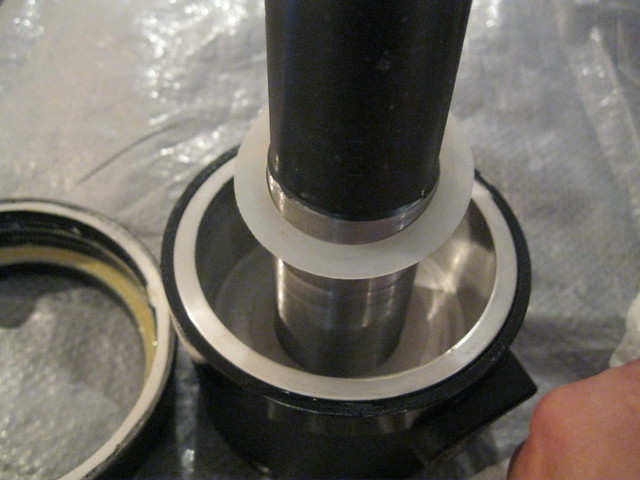
- Spacers were low-grade, hard plastic, and spacing was poorly implemented
- Motor spur gears were not meshed properly
More images in Flickr Gallery
Now on the plus side of things, all of the bearing packs were in good shape. They were even better after I cleaned them and used Super Lube to replace the factory gunk. I sanded down both ring gears to remove the scoring and rough spots. Worm components were polished up. Spacing was corrected with Teflon spacers, and retainer/locker rings were PROPERLY tightened to prevent play, while allowing components to spin smoothly. Thread lock was used in appropriate places. Getting the bearing packs back into the assembly was a challenge without binding components, but Super Lube, and gentle, tactical taps from a rubber mallet helped quite a bit.
When mechanical assembly was completed, it was time to adjust gears, backlash screws, and motor positions. This can be done almost entirely by feel and sound. The DX has peep hole screws on the bare side of the housing. When the gears were too tightly meshed, rotation was sluggish and the motors whined as if they were over-tasked. Too loose and they spun fine, but with backlash and play. It took about three passes to get the motors just perfect. For the backlash screws, start with the "top/front" screw for each axis. Thread it back in while slewing the appropriate axis. You can hear the pitch of the motor change once you've reached the right position. Hard to describe, but you know when you get it right. Too much and the motor pitch changes again back to that overloaded sound. Back it off just a hair and it's perfect. The task is easier on the "bottom/back" backlash screws - simply thread them in until the motor changes pitch, then back off just slightly.
After I finished, the mount was much more quiet, the motors didn't sound like they were fighting anything. I have no play in Declination, yet it spins smoothly when unclutched. RA has no stiction anymore, and spins so smoothly, it felt like it was a high precision bearing by itself. No binding is present. I have zero doubt I fixed everything in this mount, AND improved on the performance overall. I'm hoping for a clear night this week to put it in the field and test to confirm. Autoguiding tells all. Before the tune, it would deviate and skip in DEC randomly, and you could see the guide star move off position by 5-10 pixels. At 1300 or 2000mm focal length, this leaves double dotted stars in your exposure. I believe this was party due to burrs pressing against the DEC ring gear, but also the slop and play as well.
Please feel free to ping me with questions or clarification on anything. I can also be found on Cloudy Nights - DaemonGPF. Hopefully this write up helps someone out.
